The VFX Map Baking Guide: Ambient Occlusion
In this series of articles, I’m going to talk about auxiliary maps and how you can use them in your VFX texturing and shading workflow. Keep in mind that these techniques I’m going to showcase are mainly focused on assets with multi tiles UV's (UDIM).
These concepts might not apply to a game pipeline.
If you have missed my latest articles and tutorials, check out this page! I hope you enjoy the reading.

In this article I’m going to share five different ways you can extract your Ambient Occlusion map (aka AO) and I'll also demonstrate a simple technique in MARI to use your Ambient Occlusion to create interesting Dust/Dirt masks.
I'll give you a step-by-step tutorial and also highlight PROS and CONS of each technique based on the final quality of the map and the time it took to extract. This way you can choose the option that fits your purpose.
Again, keep in mind that this is my personal experience and these are the software that I had the opportunity to work with in the past year and a half that I’ve been working in the VFX industry.
What is and Why do I need an Ambient Occlusion Map?
We often call these maps Auxiliary Maps for an obvious reason: they are going to assist us during our texturing/shading process. I don’t want to get crazy technical here, so I’m going to share with you this quote from Wikipedia on AO: “attempts to approximate the way light radiates in real life, especially off what are normally considered non-reflective surfaces”
Here you can see how does an AO map look like. As you can see, the occluded areas are fading into black, and the unoccluded areas are white. The inverted version of the maps will be extremely handy for us in the future and you’re going to understand why.
As a texture painter, usually the map baking process is our first step as soon as we have approved UV’s and model. This process might take a while depending on how large, how many UV tiles and also the resolution you’re baking your maps.
Baking AO vs Procedural AO
In this article, I'm going to focus on how you can extract maps from your models so you can use it anywhere (MARI, Photoshop, Substance, etc.), but you can also use procedural Ambient Occlusion nodes using software such as V-ray and Arnold.
One thing you might consider if you working on shaders for VFX: using AO procedural nodes can slow down your render times considerably, so keep that in mind. It works well for still images, but if you are going to render something in movement, it might be better to use baked maps.
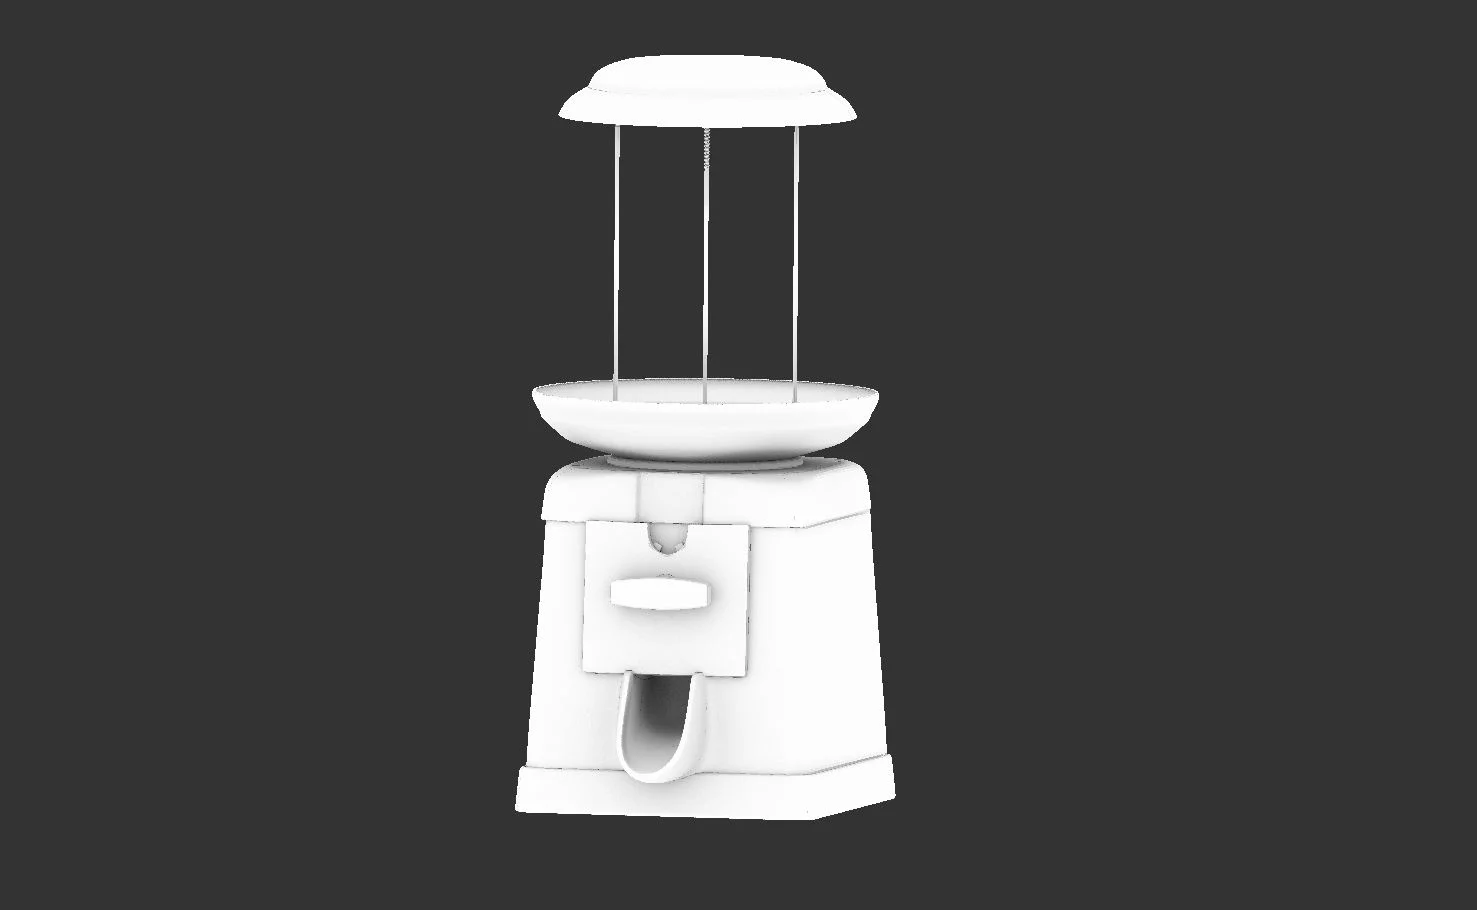
Preparing your Object
Before we jump into the baking process, I would like to highlight a few steps that you should consider.
If you are dealing with an asset which is excessively high poly, it will be a better idea to break it down into pieces and bake the AO separately. Since we are going to need a subdivided model, this step is critical.
The another important thing to consider is the quality of your UV’s. If they aren’t unwrapped properly and have distortion in some areas, your maps are going to reflect that. So keep that in mind before jumping into the baking process. I recently wrote an article giving UV tips. You can check it out here.
To get a clean and smooth AO map in all the methods below, we will need to subdivide our mesh a few times. Usually having our mesh with a range of 4 million - 10 million polygons is good enough. If you’re getting more than that with your whole object, you might consider breaking that into pieces as I said previously.
Baking Methods


How to Use an Ambient Occlusion Map?
Now that we know several methods to extract our Ambient Occlusion Map, how are we going to use it?
On the video below, I showcase a quick technique that I've been using quite a lot on my personal work. It might look simple, but if you understand the principle, you will be able to achieve incredible results without too much effort.
And that's not the only way to use Ambient Occlusion maps. You can be creative with this map and use it to enhance your diffuse and specular maps. Or maybe use it on your bump to erase some areas and get a more organic look.
Final Thoughts
After testing out all these methods to extract Ambient Occlusion maps, I came to a conclusion that all these options have pros and cons. Some options might be faster, but the final result isn't as clean as others that will take more time.
So, in the end, it will depend on how much time you have and how clean you need your maps. I will keep updating this article in the future with more methods, so make sure to bookmark it! ;)
I hope you found this article useful. I hope you can now bake your Ambient Occlusion maps and make a good use out of it. If you have any questions or suggestions please let me know! You can leave me a comment below or send me an email: paulhpaulino@gmail.com
The next auxiliary map on my list will be: Curvature/Edge Mask
So if you're interest on my content, please share it with your friends all invite them to like my Facebook page! ;)
Do you have any suggestion for my next articles? Write your comment below and let me know what you are interested to learn about the VFX industry.
I'll be happy to spread the knowledge!