MUDBOX AMBIENT OCCLUSION BAKING
Pros
- Clean AO map
- Variety of options
- Relatively Fast
CONS
- Naming Convention different from MARI (uV and not UDIM)
- Options can be confusing
BAKING TIME
- Machine Specs: i7 6700K | 32 GB | Geforce 1070
- Tile Resolution and Quantity: 2K - 4 Tiles
- Baking time: 4 minutes
STEP 01
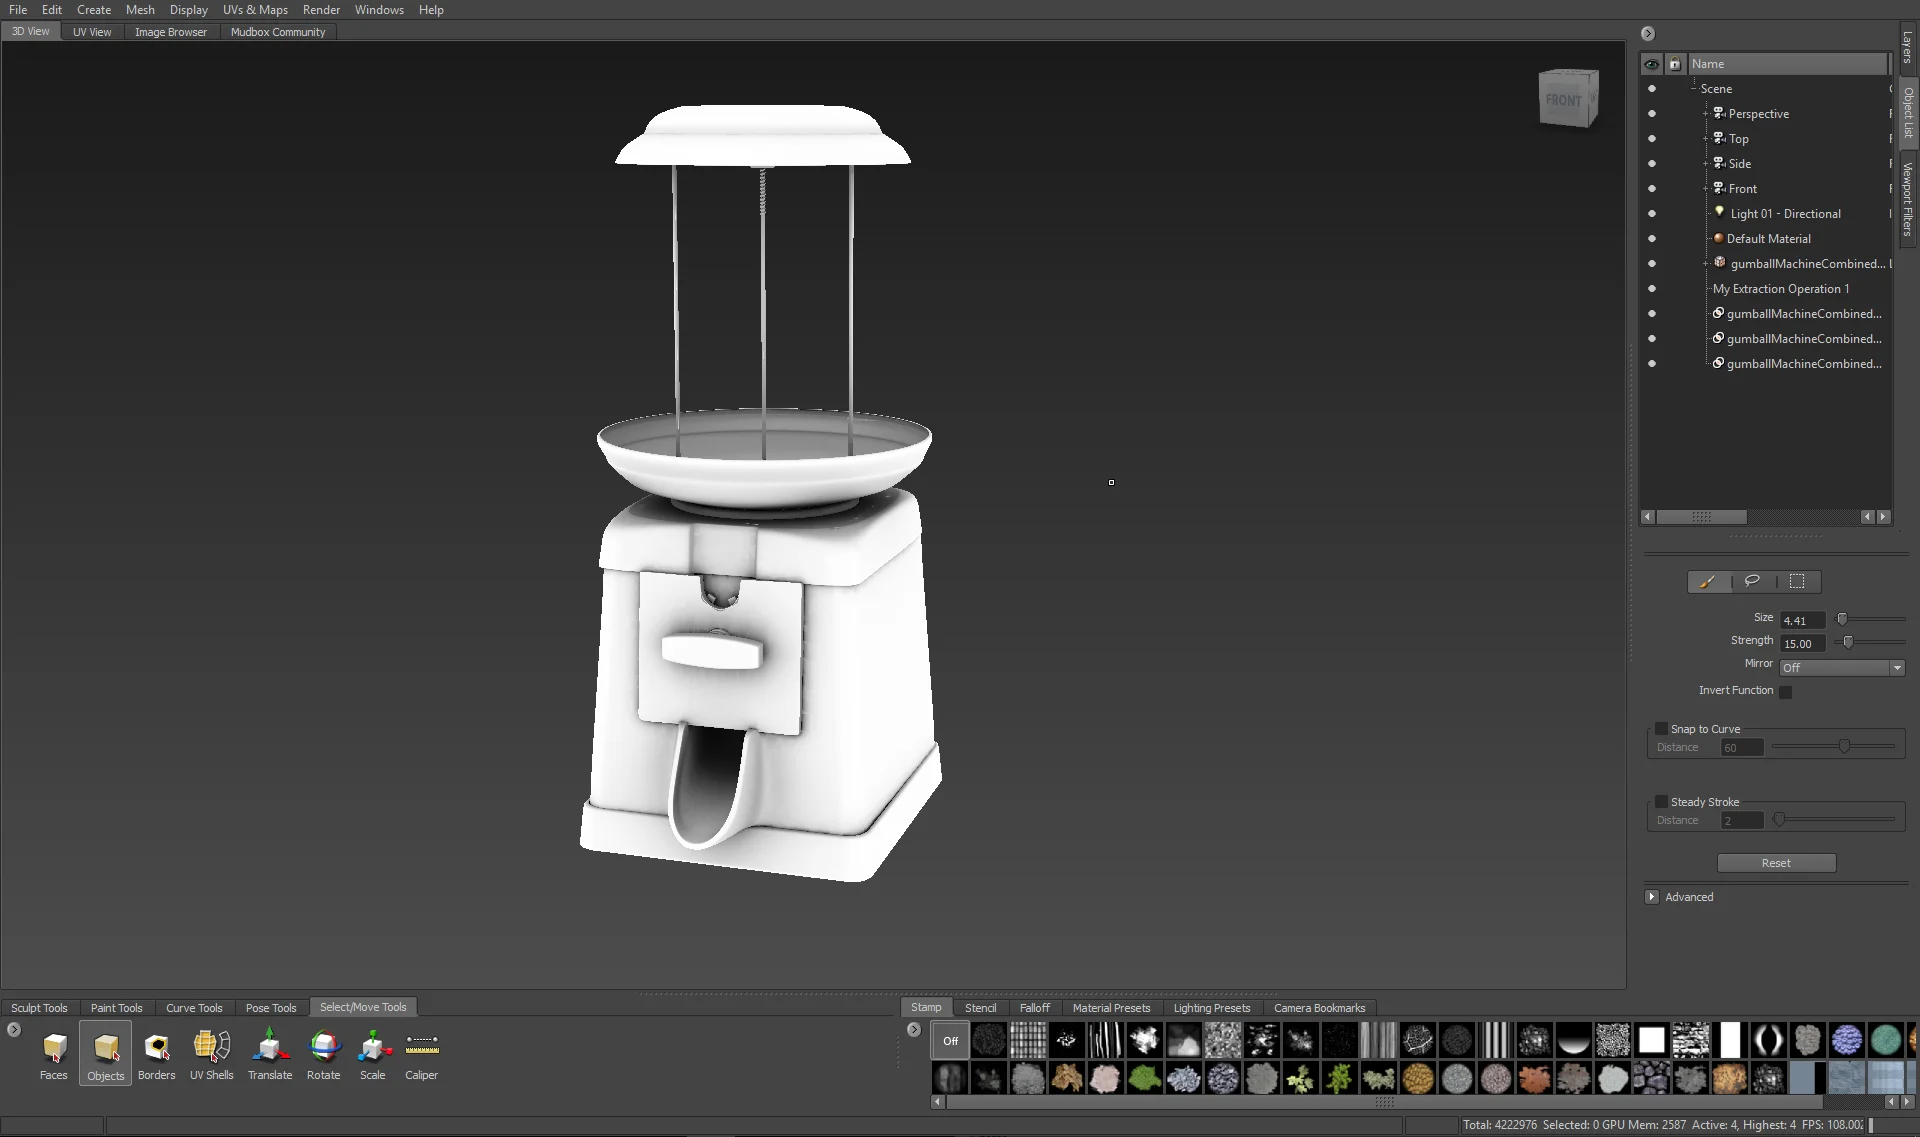
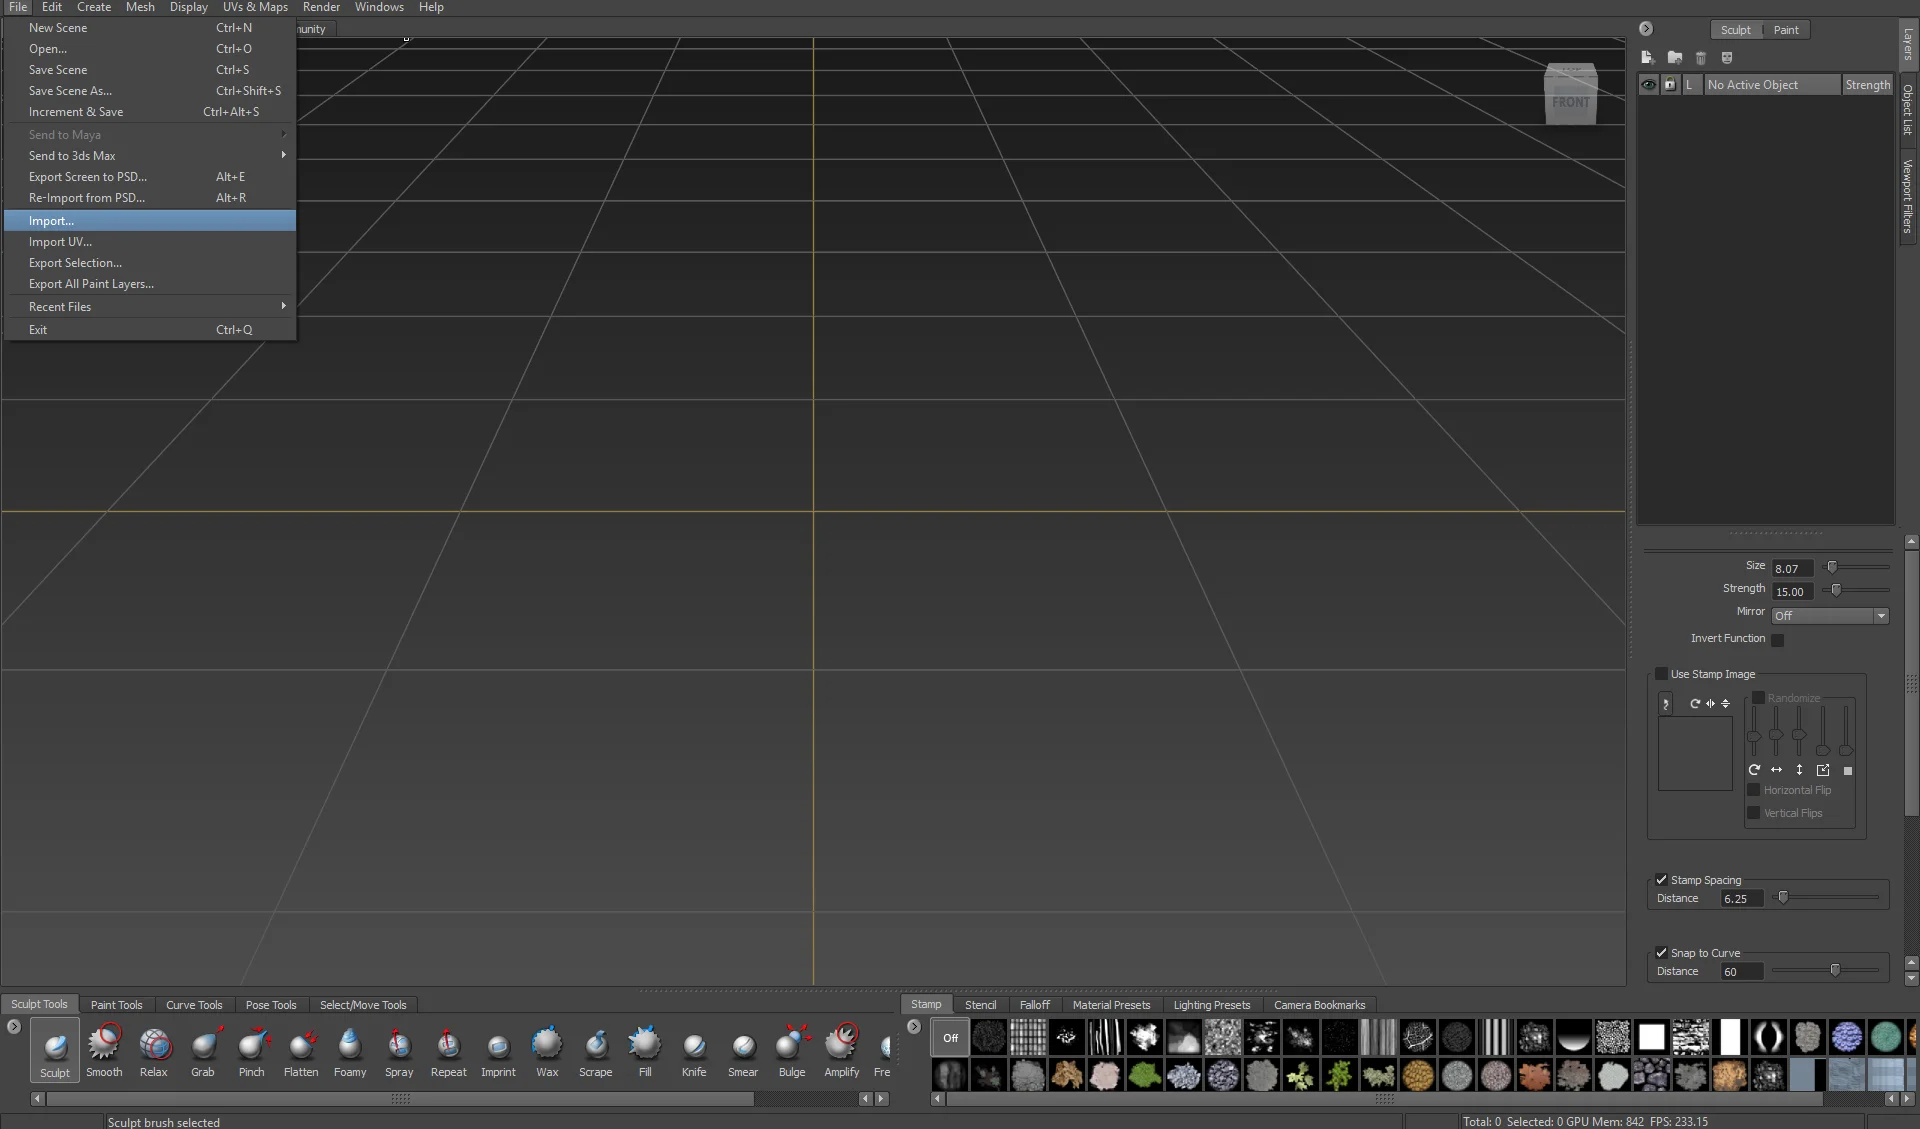
Open Mudbox and import your HIGH RES geometry.
STEP 02
Click on “Rebuild subdivision levels” like the image below so you can have multiple subdivision levels in your mesh.
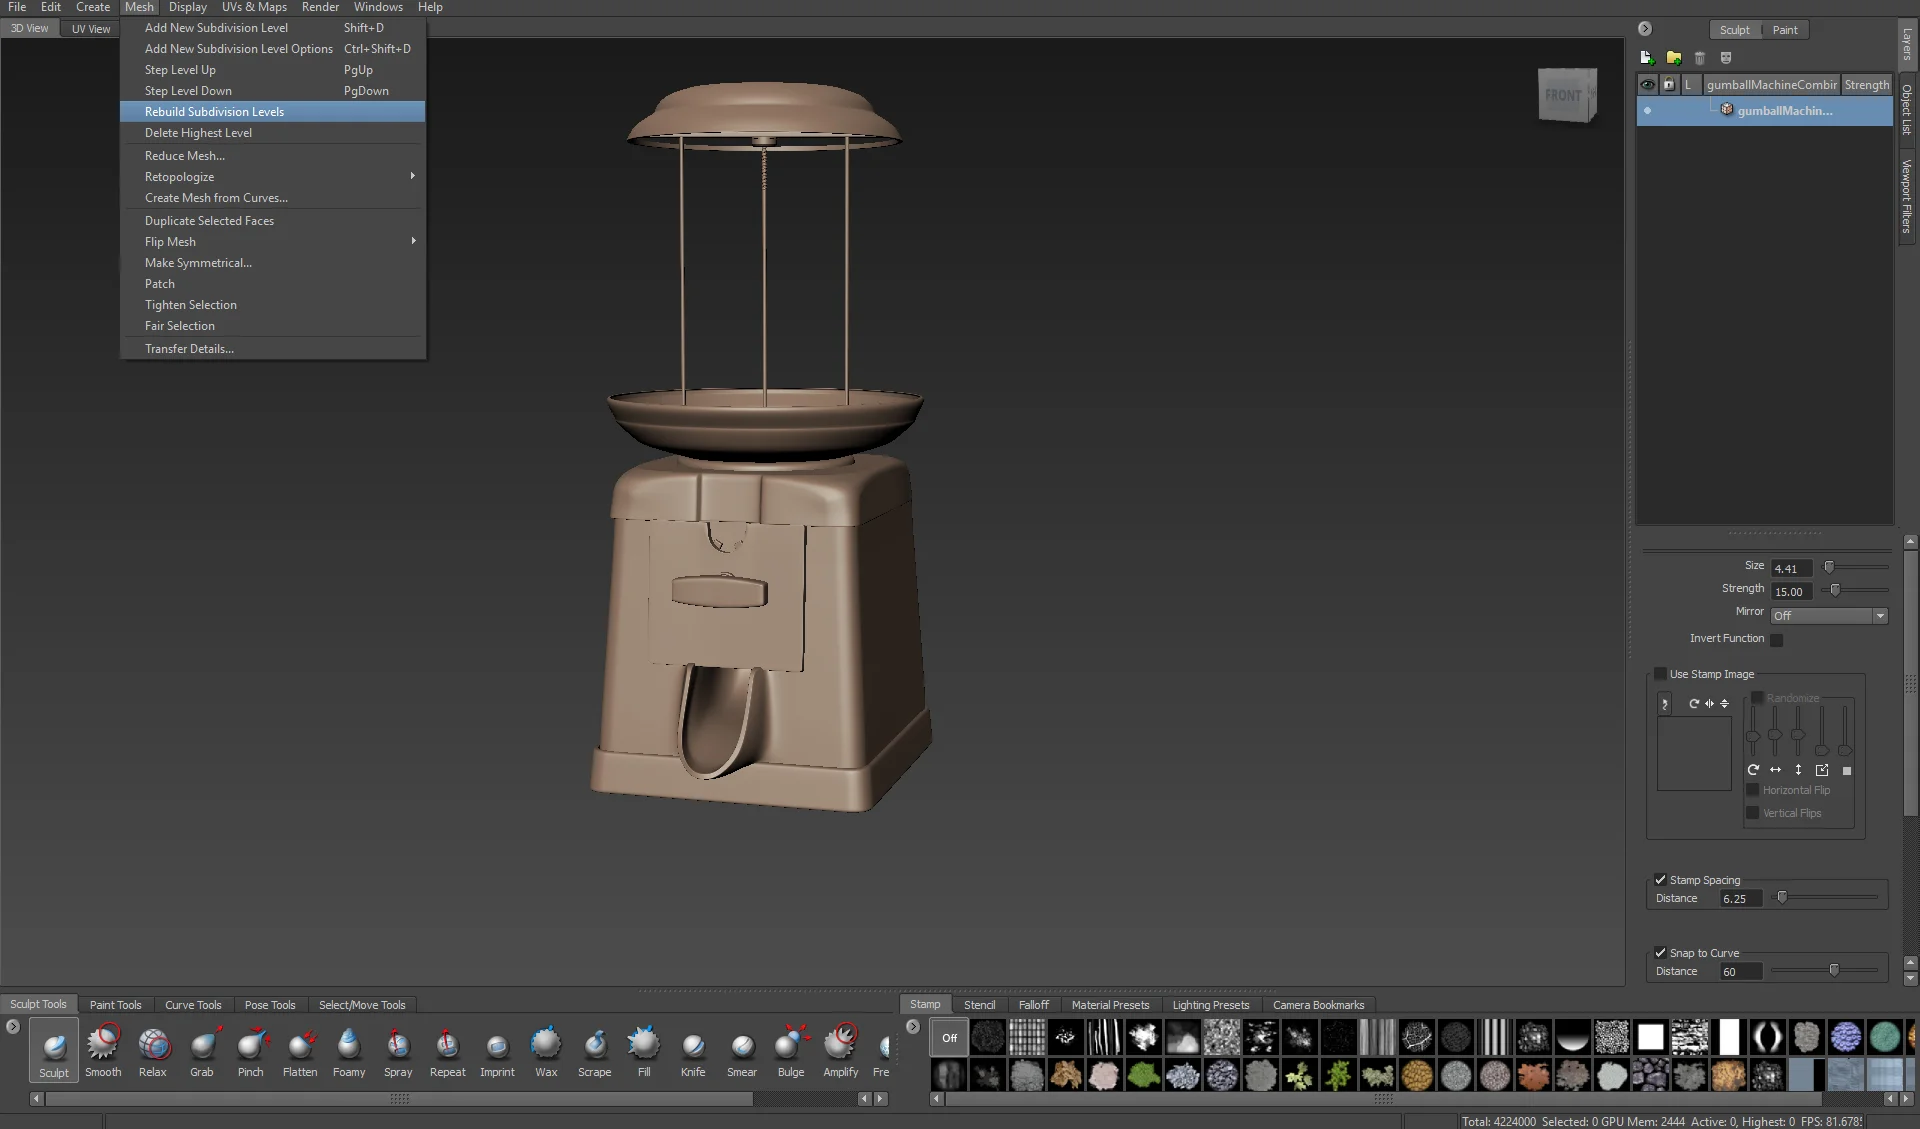
Common errors: Sometimes this option doesn’t work because Mudbox is sensitive to mesh errors. But don’t worry, if that’s your case, simply bring the same mesh with a lower resolution and you’ll be okay.
STEP 03
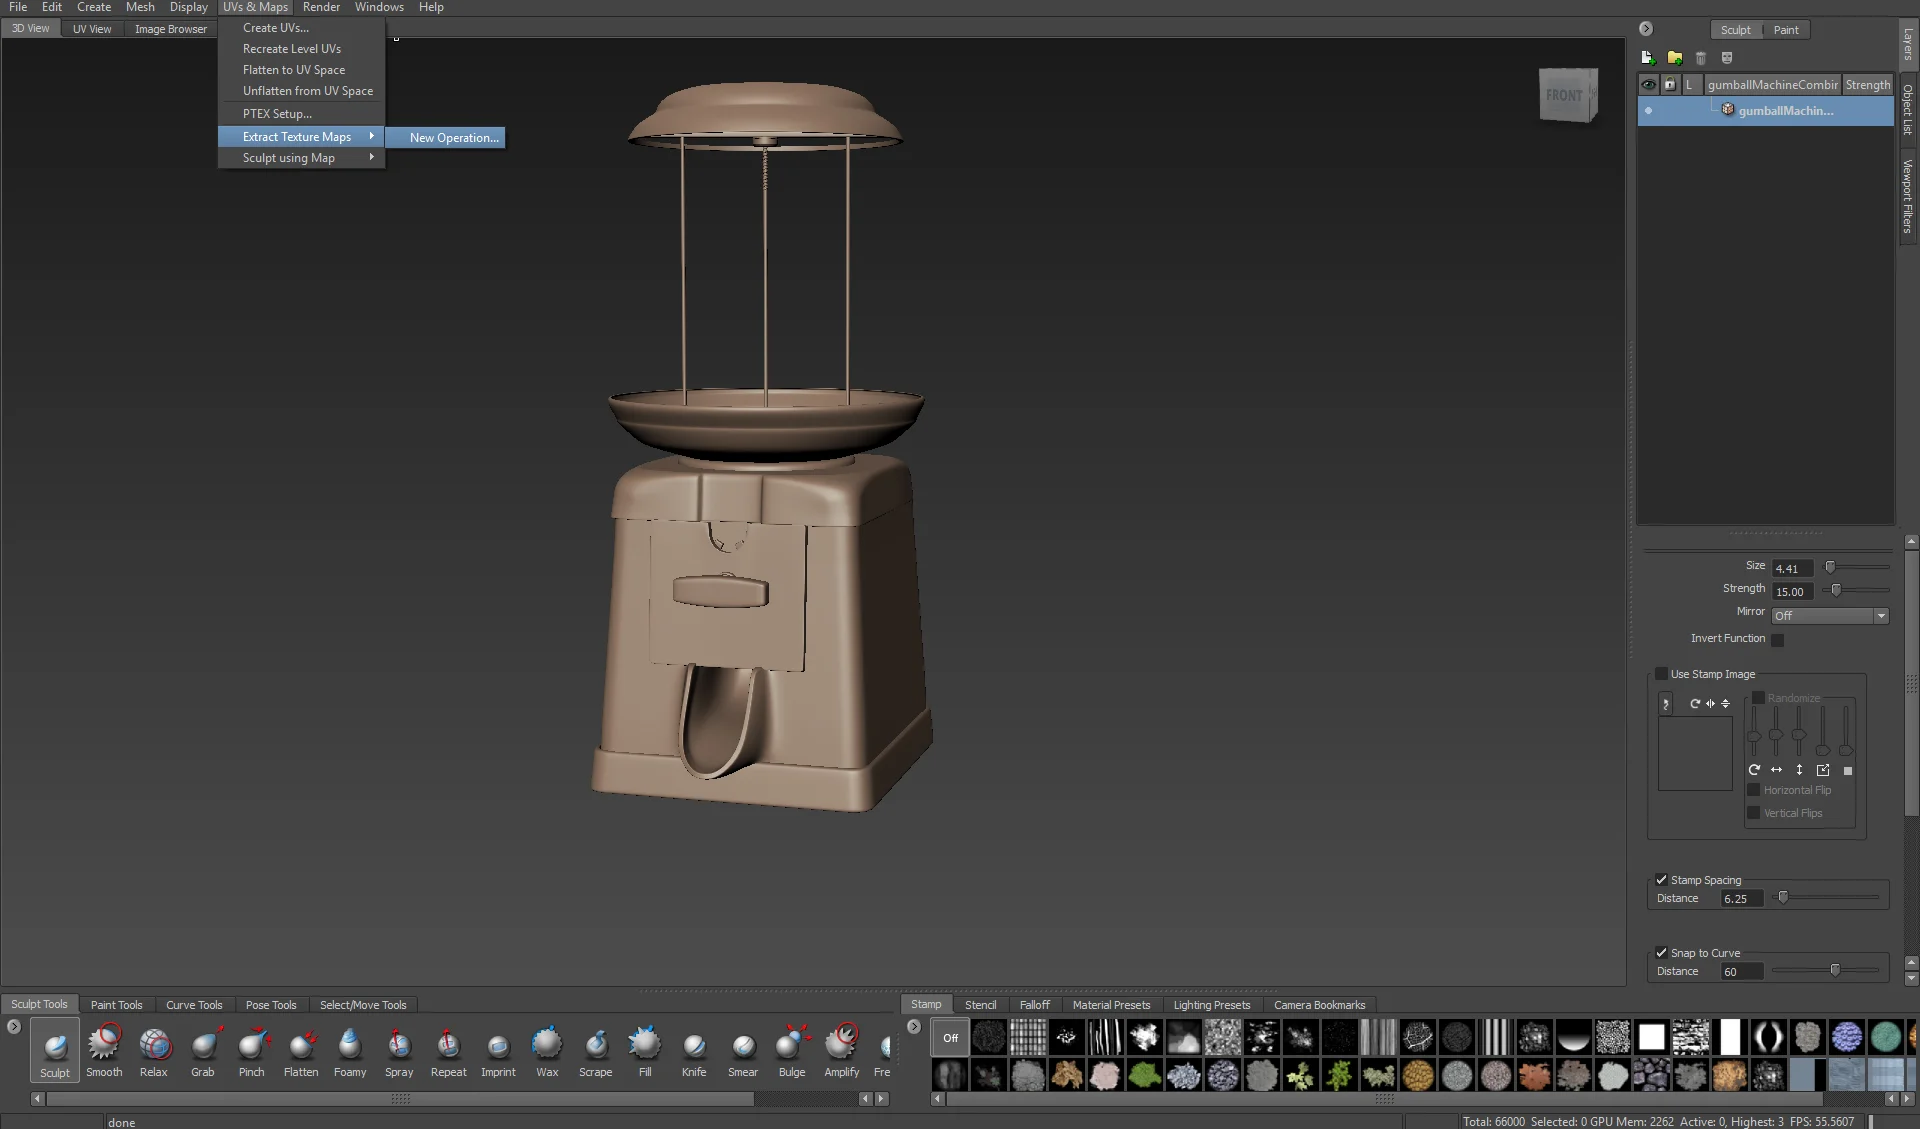
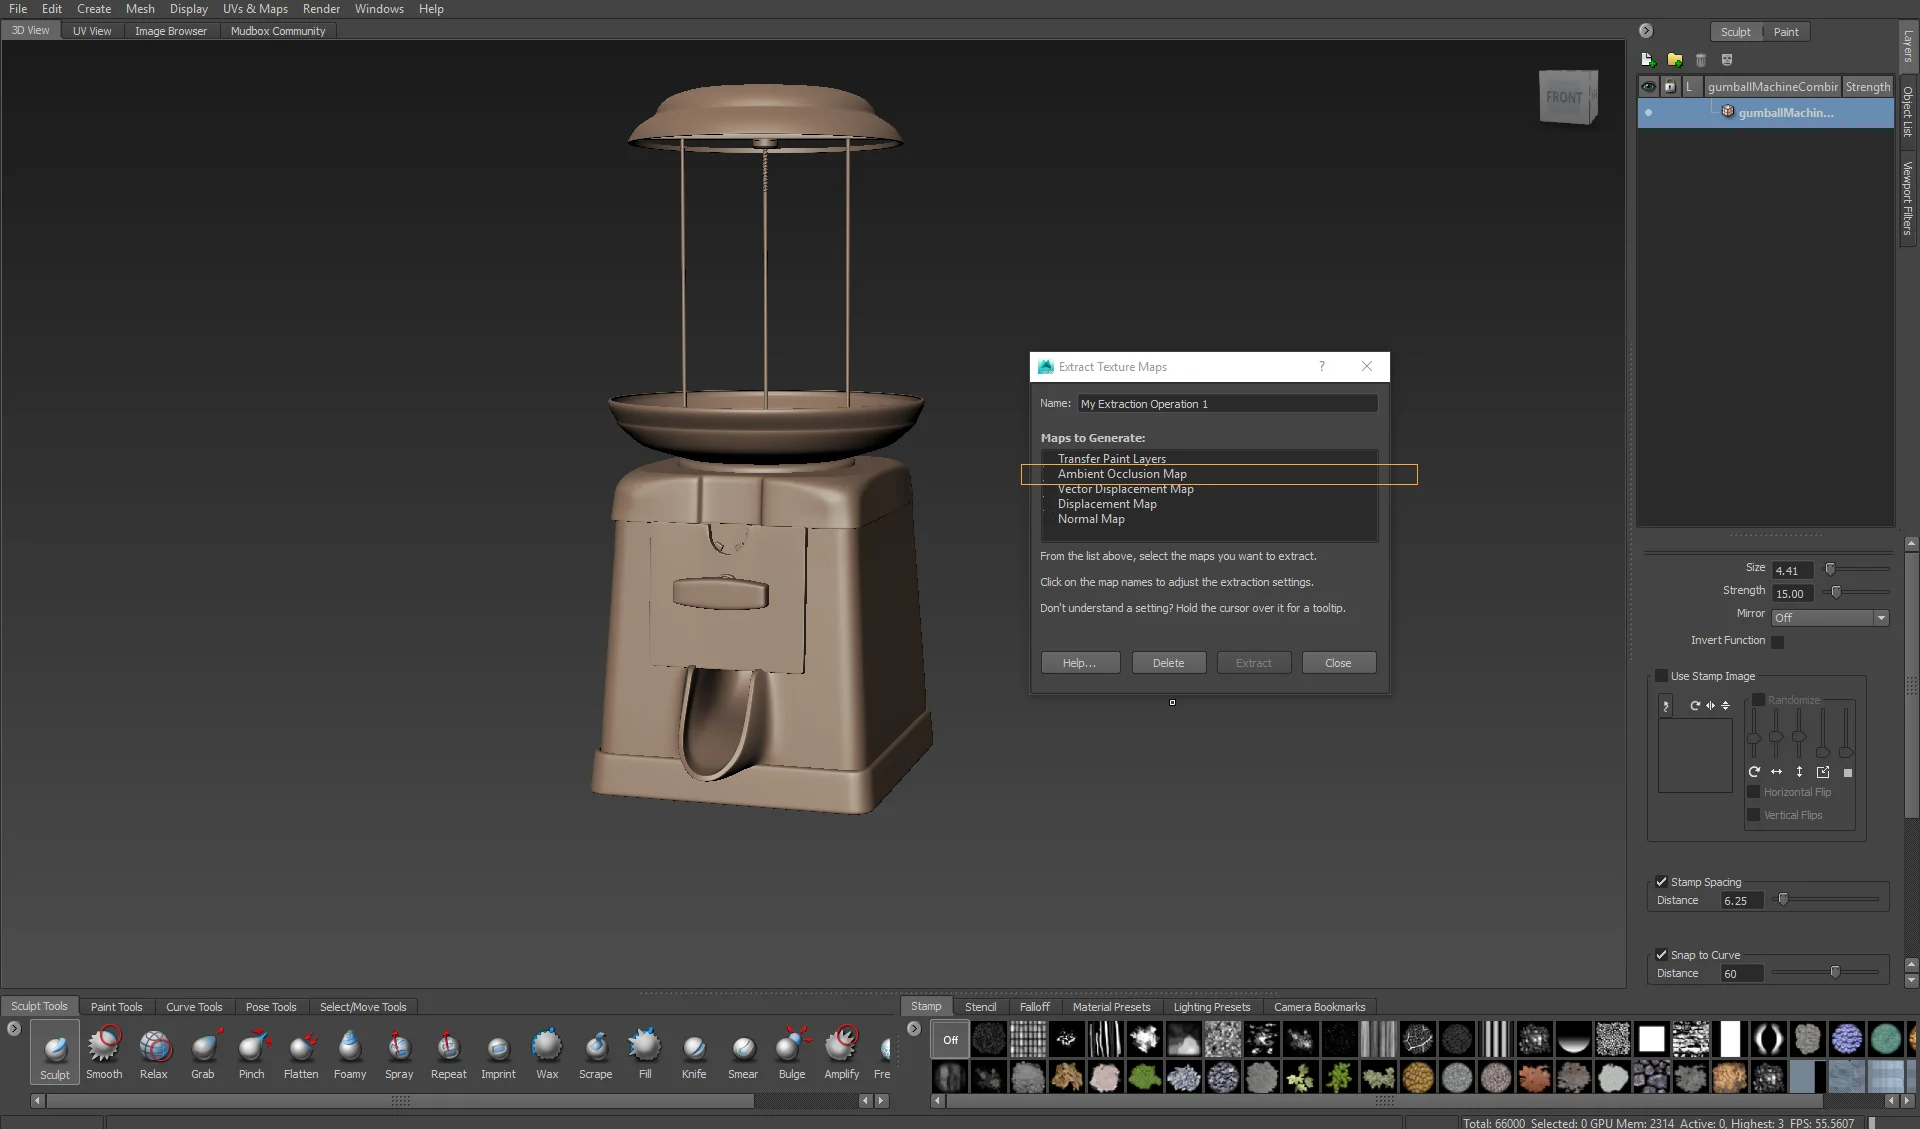
Go to UV’s & Maps > Extract Texture Maps > New Operation.
STEP 04
Choose Ambient Occlusion Map. Here you can also name your extraction operations if you end up having more than one.
STEP 05
Okay, so this part might get a little bit confusing, but don’t worry, I will try to get your head around this part without getting too technical. After a ton of experiments, these are the setting that I’ve been for almost everything.
On the screenshot below I highlighted the areas that you should pay more attention while adjusting your settings.
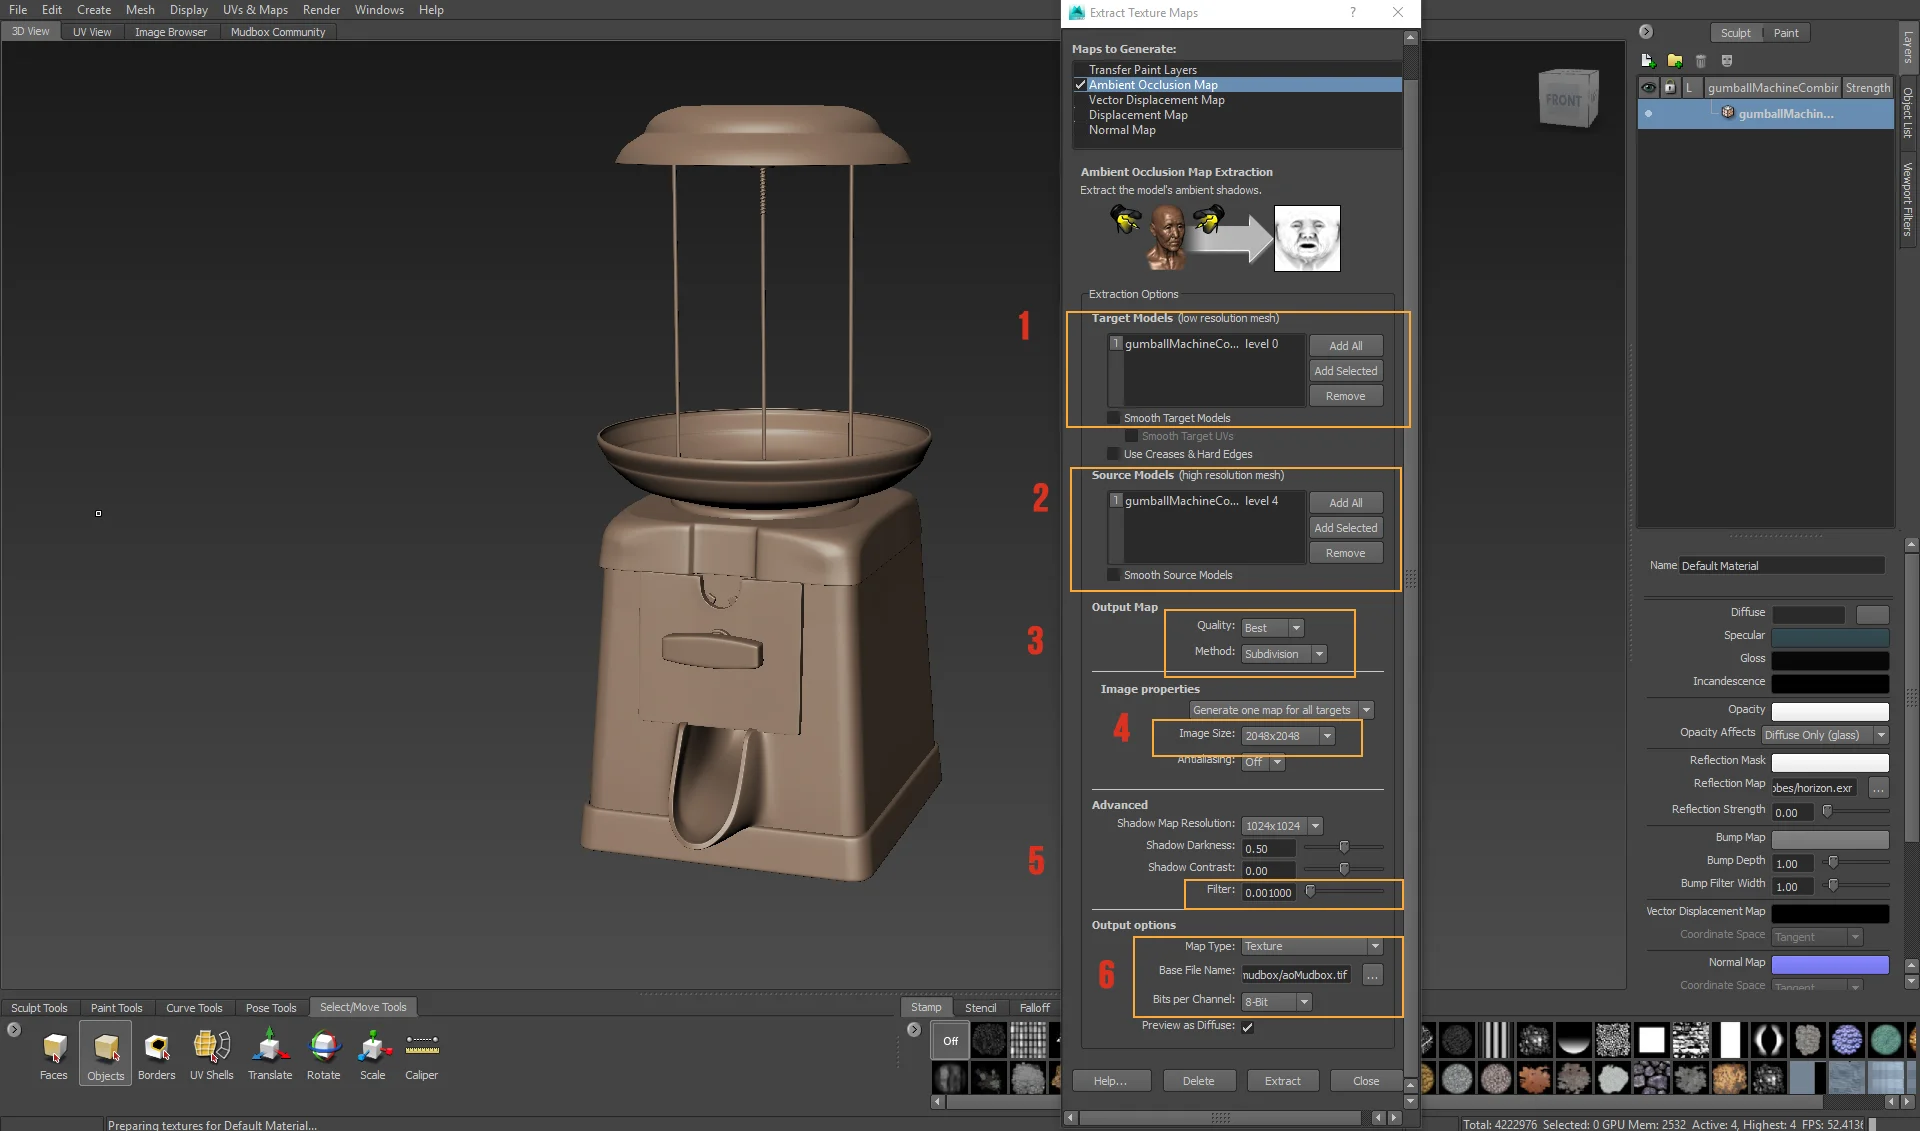
- Here you can add your LOW res mesh or the minimum level of your HIGH res. (If you rebuilt the subdivision level on step 01 it would give you a few options)
- Add your HIGH res mesh.
- Change your quality to Best and your method to Subdivision.
- On Image Properties, just make choose to select the resolution you desire. In this case, I decided to use 2K just for the sake of this tutorial, but it is up to you.
- I usually never change anything on the Advance tab. The only option that I modify is the filter. The default option is 0.01, but I had better results using 0.001 instead. You can play with this value and see if you can get different outcomes.
- The final step is to choose your bit depth and your output folder. I usually keep it simple and choose 8-bit RGBA TIFF maps as my output. You can also keep the “Preview as diffuse” option checked so you can see how the map looks like in Mudbox.
Quick Tip: If you want to get a Cavity Map, which can be extremely useful for characters and creatures, you can keep the other settings and low the filter to something around 0.000001. Try it out and thank me later ;)
STEP 06
After choosing your output folder and format, it is time to extract your map. Your AO map will look like the image below.