MARI OPTION A - BUILT-IN AMBIENT OCCLUSION
Pros
- If you’re working in MARI, you don’t have to import it. It’s built in into the software.
- Not so clean compared to the other methods. Sometimes it can be a good thing as well, because you can use it for different purposes.
- Extremely simple to bake and use.
CONS
- Not so clean compared to the other methods.
- No options available
BAKING TIME
- Machine Specs: i7 6700K | 32 GB | Geforce 1070
- Tile Resolution and Quantity: 2K - 4 Tiles
- Baking time: Aprox. 8 minutes
STEP 01
Open MARI and import your HIGH RES geometry.
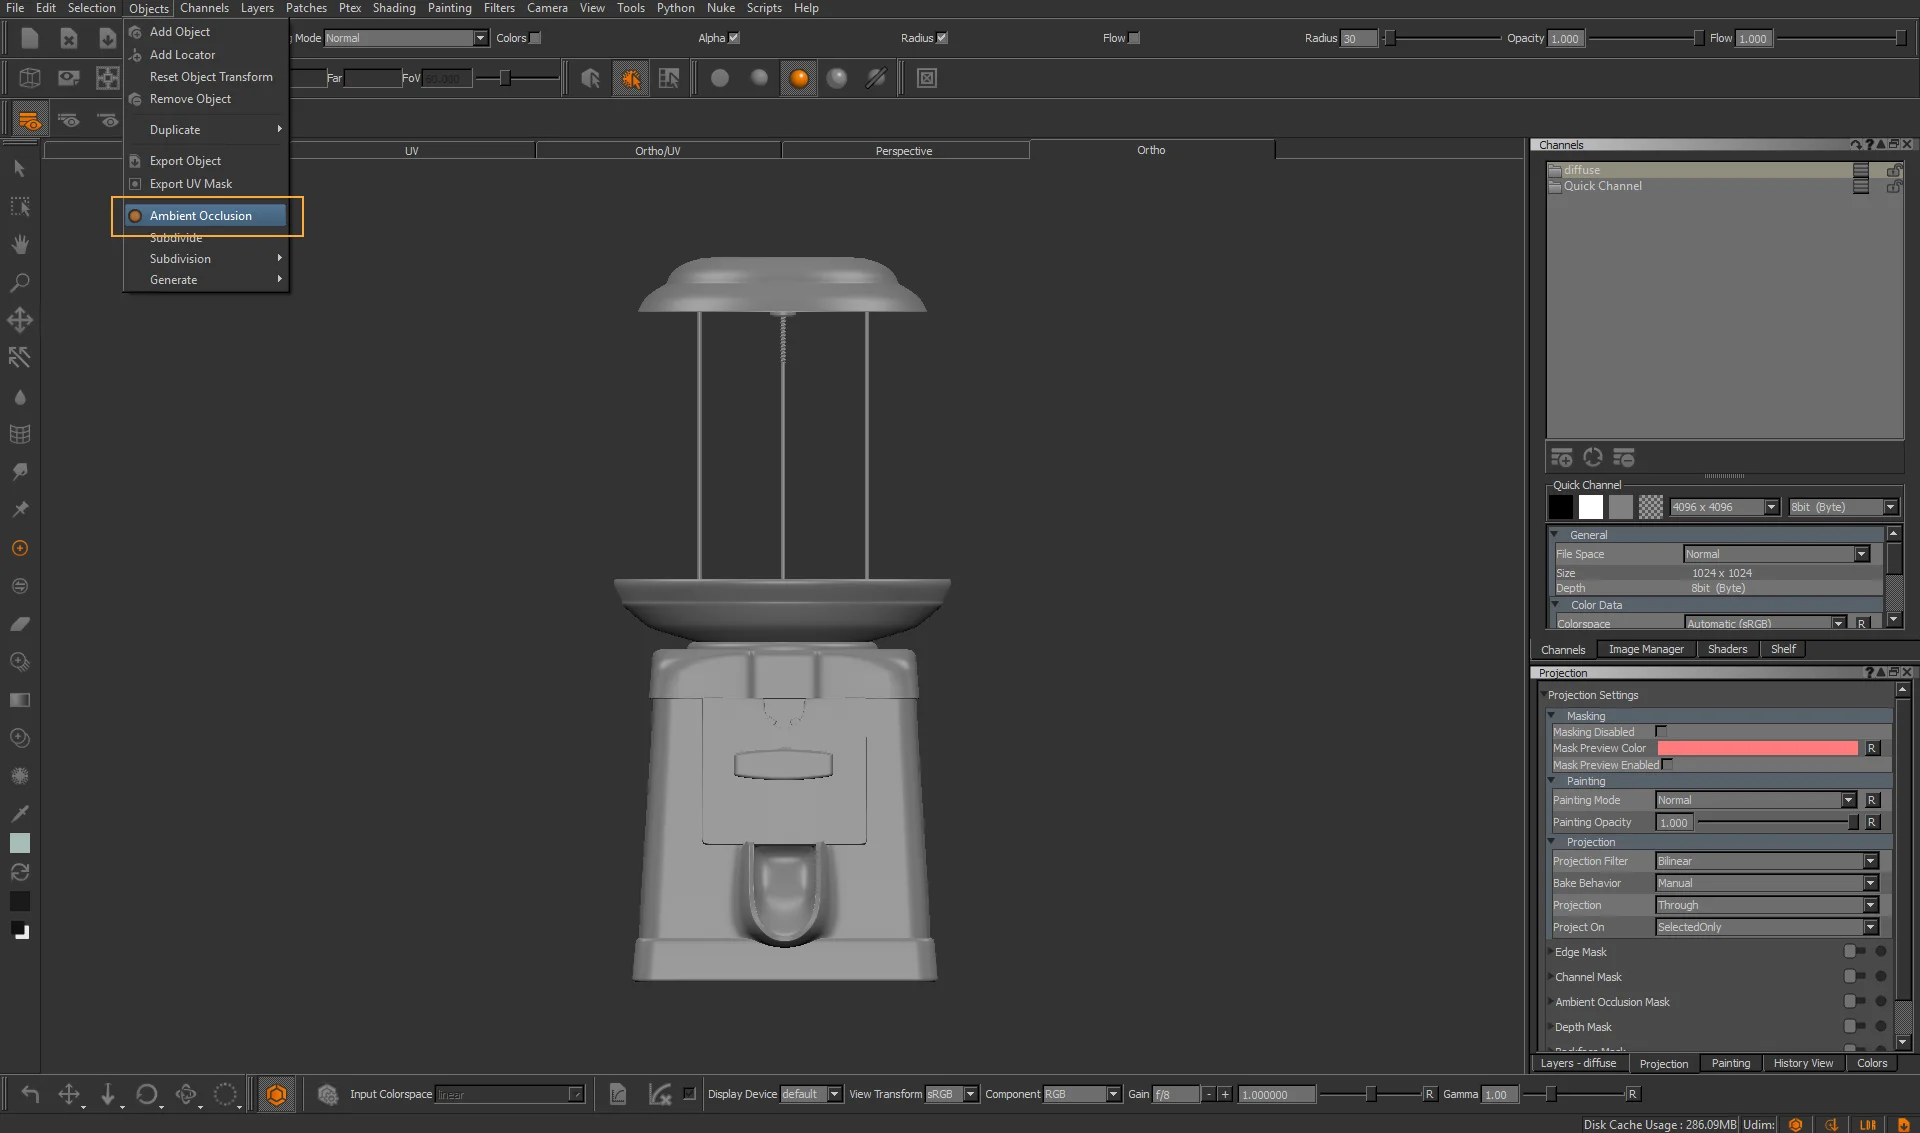
STEP 02
Go to Objects > Ambient Occlusion
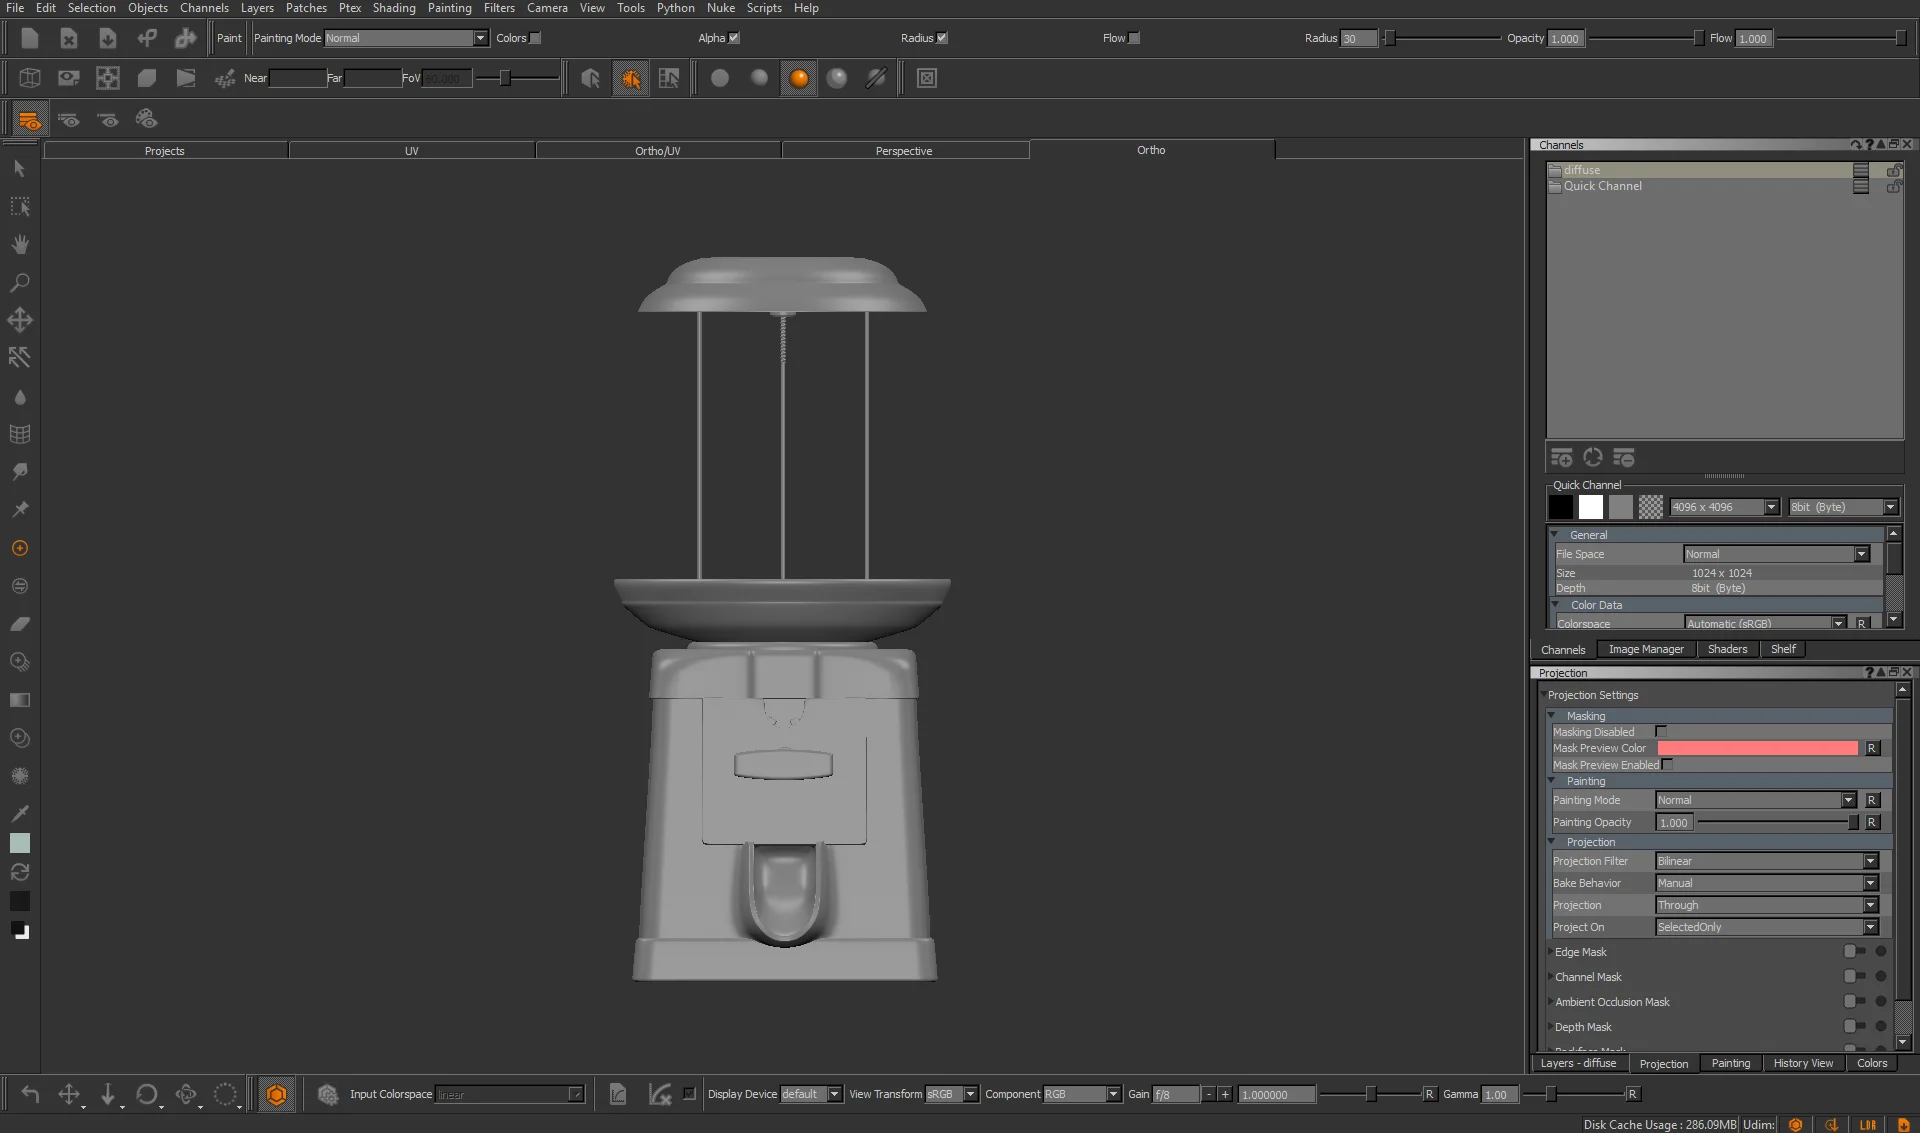
STEP 03
After the baking is done, you’re not going to see anything on your screen. To access your baked AO you will have to create a new layer in your channel.
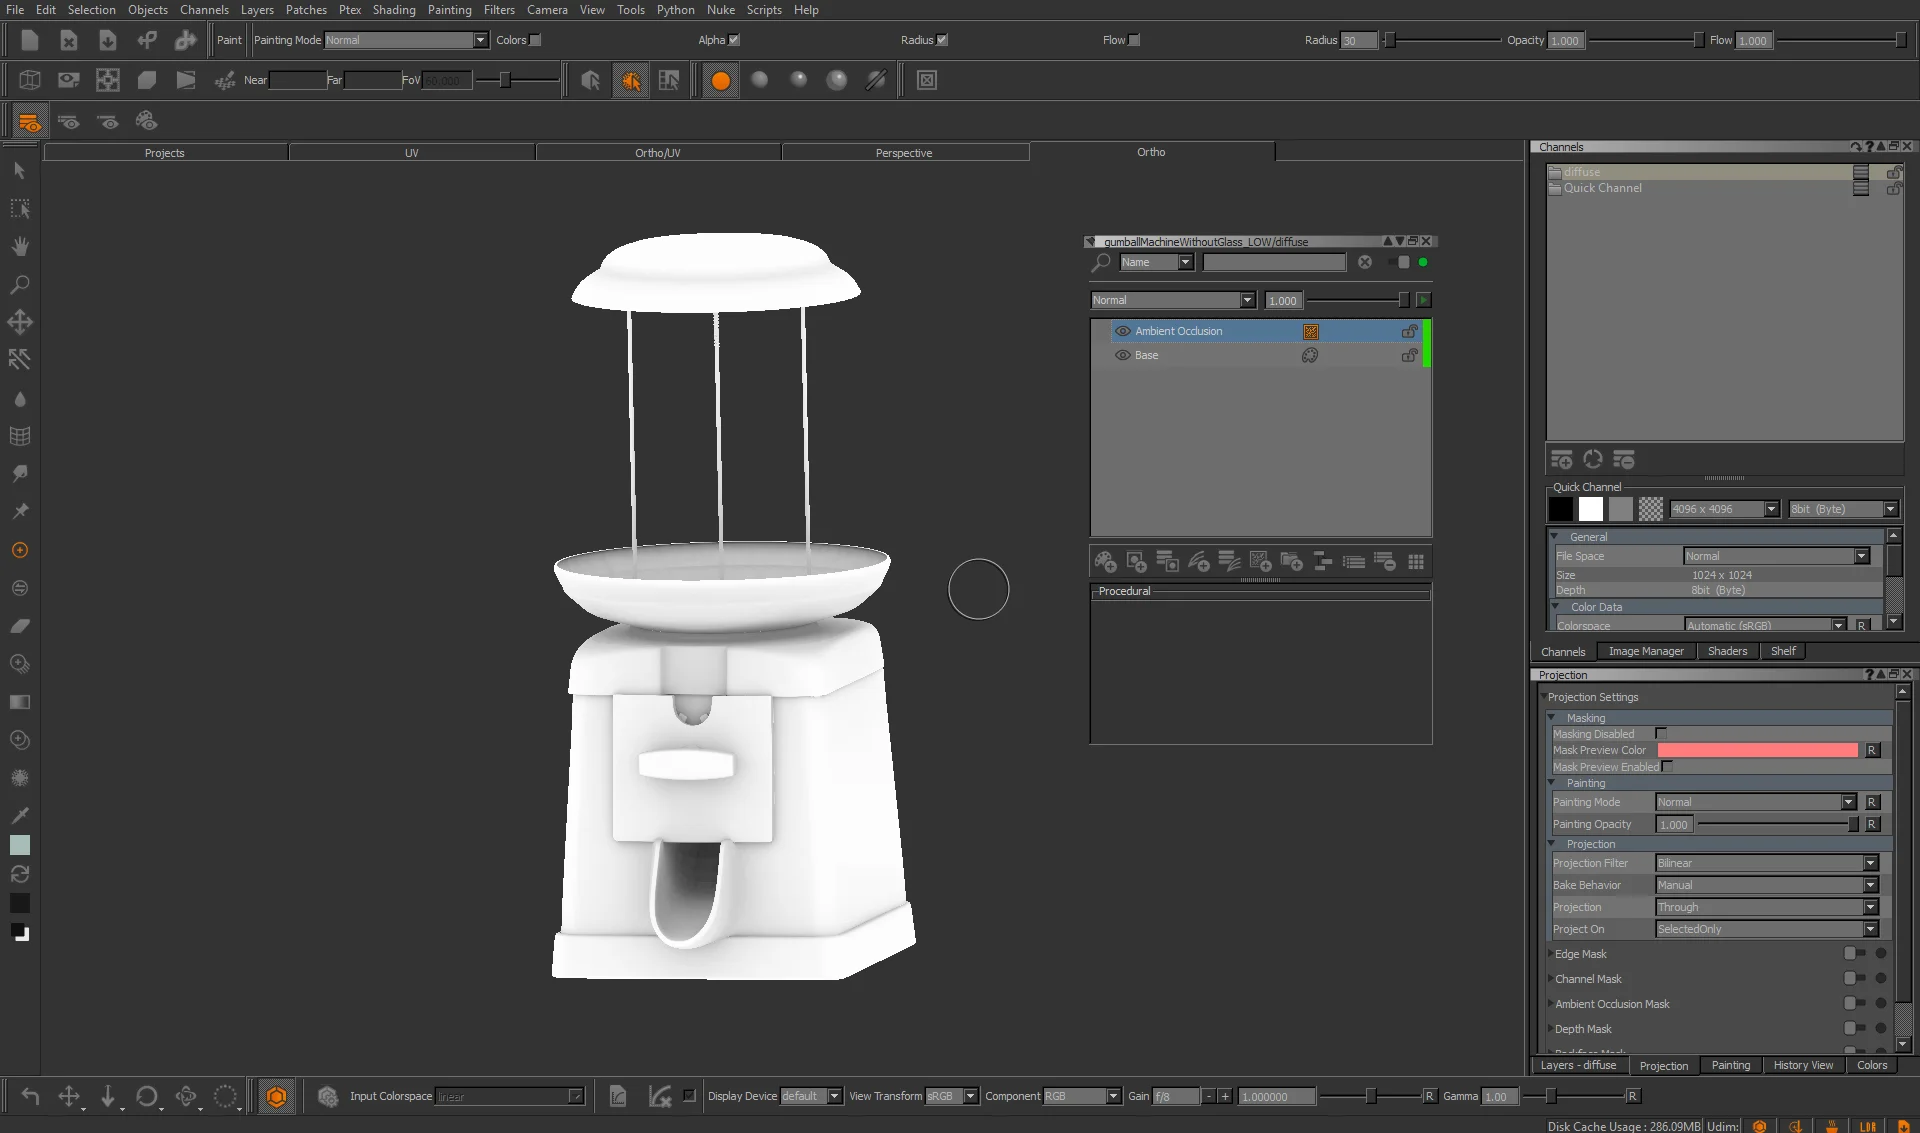
Go to Geometry > Ambient Occlusion

Now you can see our map! Since we already baked it previously, we don’t have to do it again this time. You can use this node anytime you want. You can delete and bring it back again if you want. But keep in mind that if you bring in a different object, you’ll lose the previous bake.
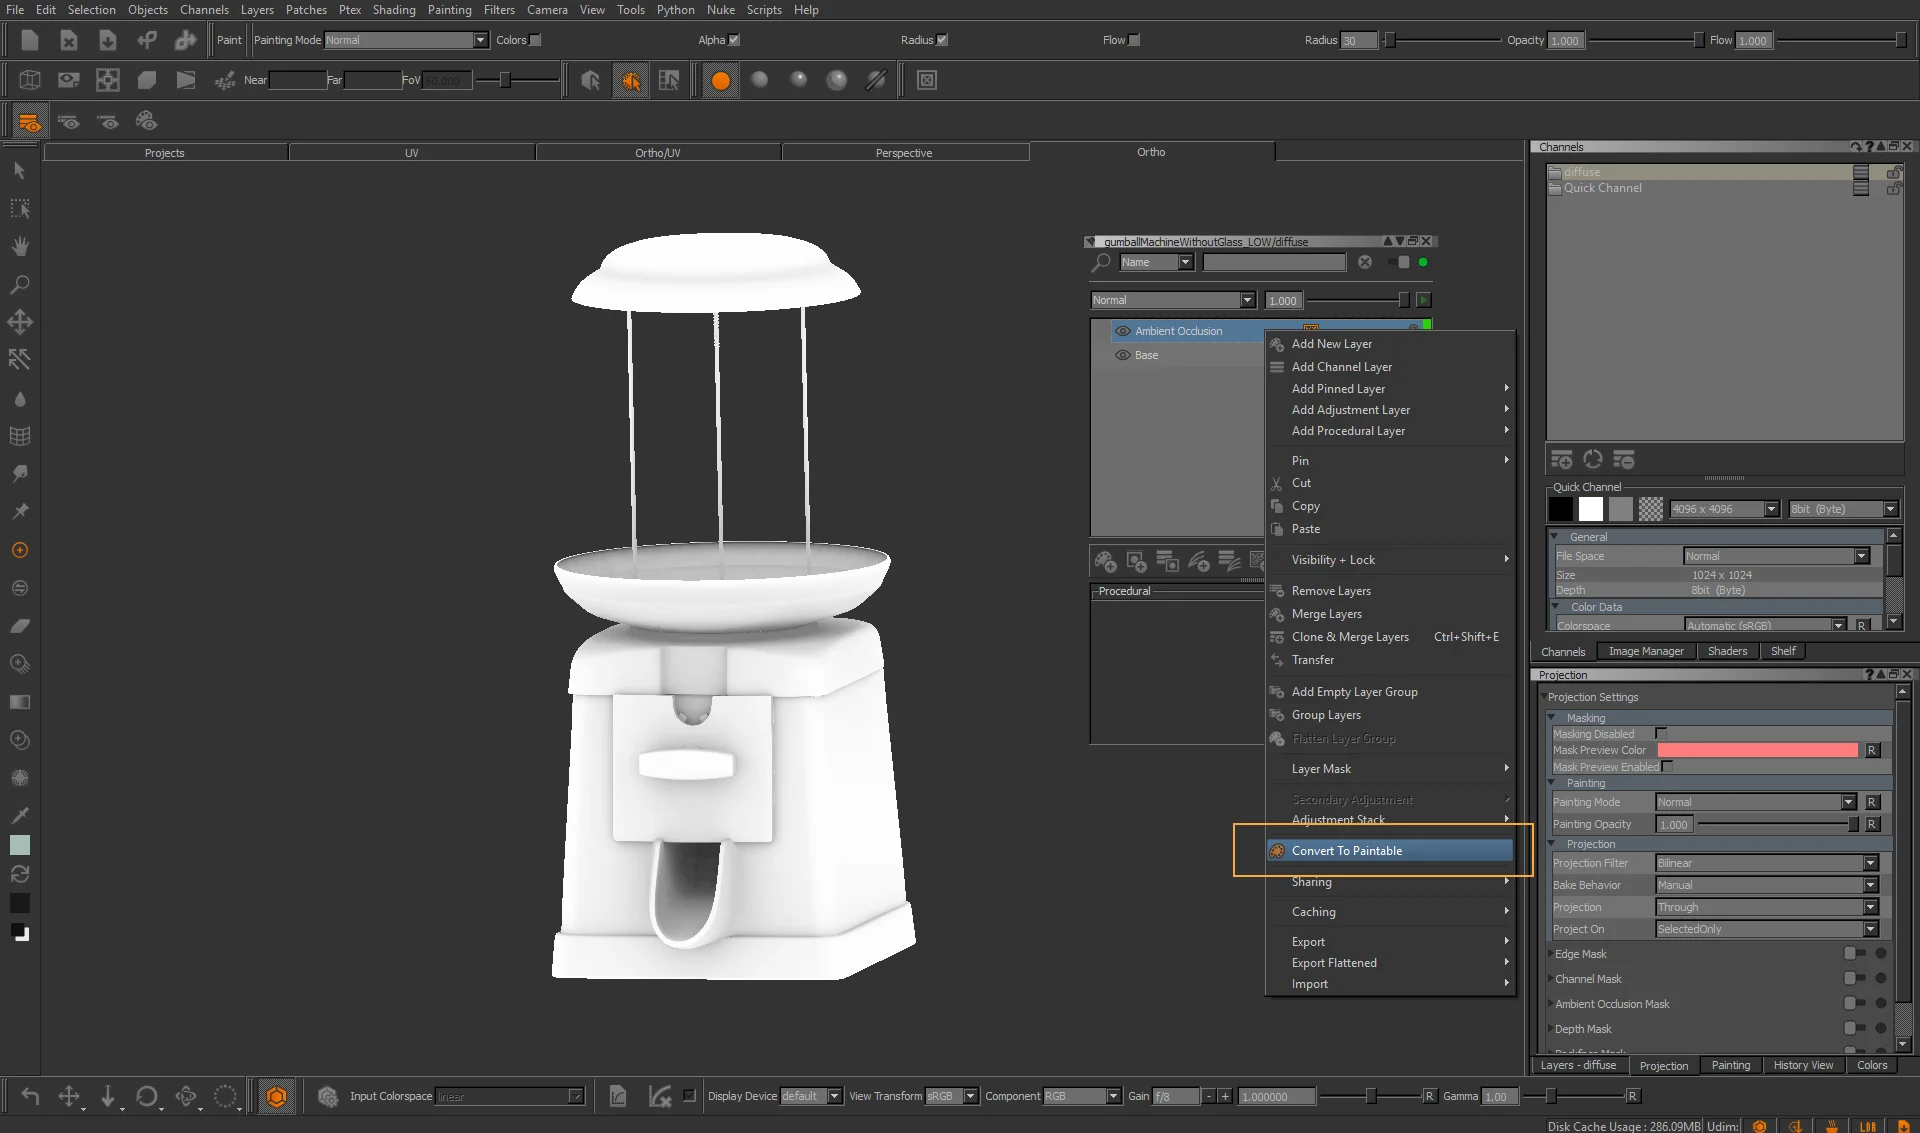
STEP 04
To finish this method, I would advise you to convert your AO layer to paintable. This step will avoid issues in the future because this layer will store the ambient occlusion information from the current object. If you want to, let’s say, use this ambient occlusion map on a low res version of your object, you won’t be able to. If you have the map converted to paintable, it would not be a problem.