7 Steps to Create a Quick Curvature Mask in Zbrush
In this article, I’m going to share with you a cool technique to create a curvature mask in Z-brush that I’ve learned with my former mentor Justin Holt, and I think it’ll be very helpful for your texturing/shading process.
The curvature mask is also considered an Auxiliary Map along with the ambient occlusion map. You can read more about the Ambient Occlusion map here.
I remember talking about the curvature map on my previous tutorials, but I never explained how to create and use it properly. At the end of this article I have a video explaining how the mask can be useful in a texturing workflow.
If you have missed my latest articles and tutorials, check out this page! I hope you enjoy the reading.

There are many options out there to create a curvature mask: MARI, Substance Painter, Mighty Bake, V-Ray, etc. But with my experiments, I found out that the Zbrush method is the most efficient one; it is quite fast and accurate and I couldn’t be happier with the results I have gotten.
Are you ready? Let's go:
What is and Why do I need a Curvature Mask?
We often call these maps Auxiliary Maps for an obvious reason: they are going to assist us during our texturing/shading process. According to the Polycount Wiki, a curvature map is a texture that stores the convexity/concavity of the mesh. This mask is also known as Edge Mask, Round Edge Mask, Concavity, Convexity, Pits & Peaks, Worn Edge.
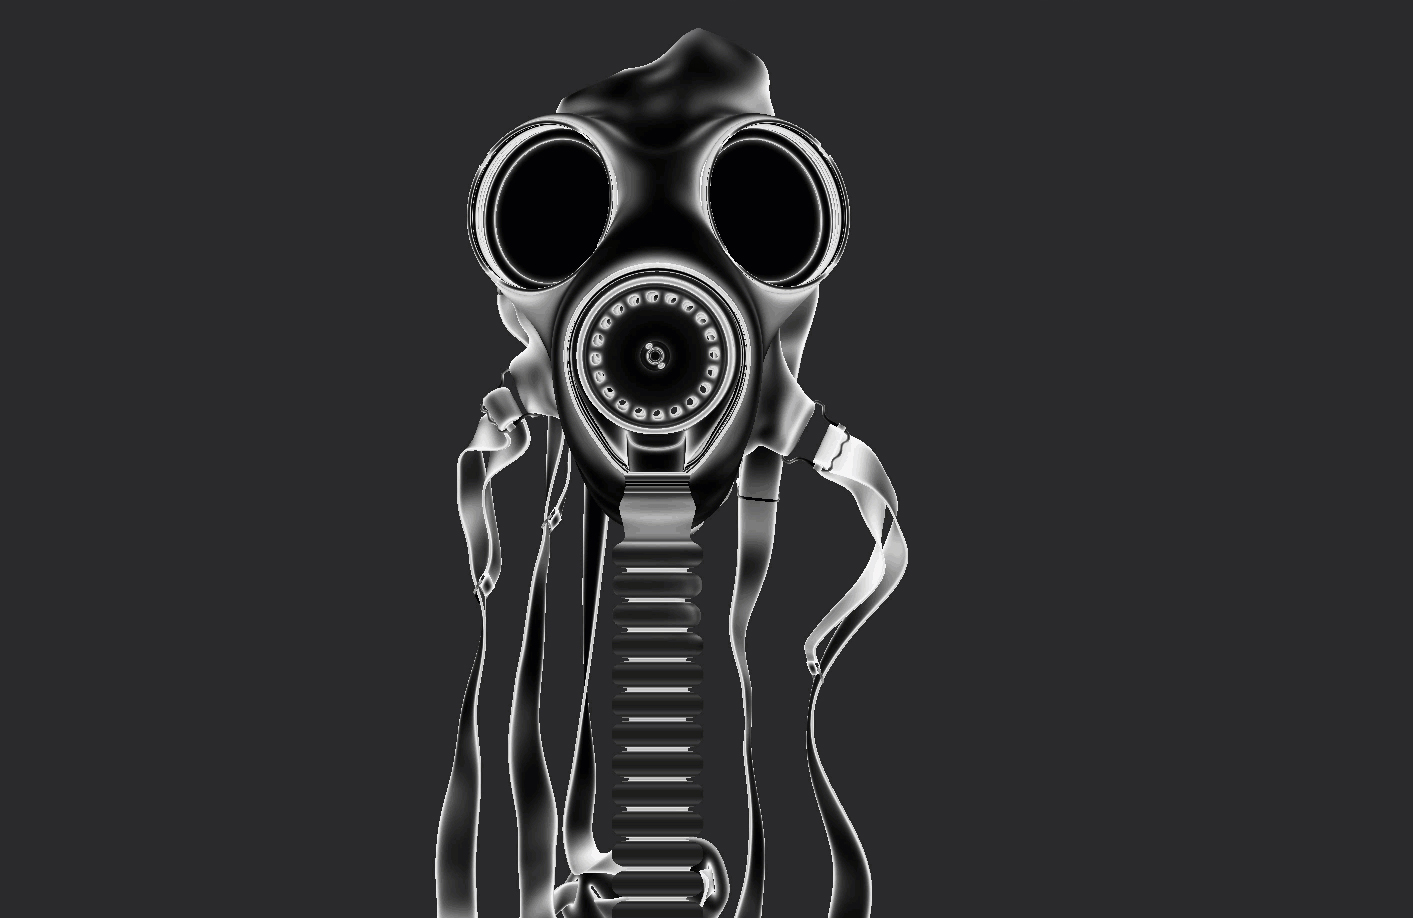
In this tutorial, I'm going to use my Gas Mask project to demonstrate how the curvature mask look on soft and hard surfaces.
This mask is crucial in my texture workflow and can be used in various situations such as:
Wear and Tear: You can use the curvature as a mask to blend other materials or add it to other texture maps to create believable wear and tear details.
Color Variation: Just by using the curvature map on top of your diffuse map you already get an interesting contrast in your colors following the smoothness of your object.
Roughness and Bump Breakup: Use the curvature to remove the edges in your roughness and bump maps to create an interesting and realistic look
Don't forget to watch my video at the end to learn how to use the mask in these situations I mentioned above.
It's quite useful while texturing cloth and hard surface models. This auxiliary map will come in handy to achieve realism.
Keep in mind that these techniques I’m going to showcase are mainly focused on assets for VFX which have UV's. So before you start make sure to check if your asset has proper UV's.
1 - Import Your Mesh and Add Subdivisions
The first step to this tutorial is to import your mesh into Zbrush and add a few levels of detail. The amount of subdivisions will vary from asset to asset and you’ll know if it’s enough when you see that your mask/model isn’t faceted.
When I work with an asset like the Gas Mask above, I usually have at least 4 million polygons. Since this method relies mainly on the smoothness of the object, it is crucial to have a subdivided model without any faceted surfaces.
2 - Change Your Render Mode to Flat
This step will allow you to preview your mask accurately without any light/shadow information.
3 - Masking
Go to Tool> Masking > Masking by Smoothness. Here’s where the magic happens

As you can see, one of the greatest things about this method is the fact that you don’t have to dial complicated options at all. Just adjust the range and falloff values, and you’re ready to go. To understand what these settings do, here’s a quick explanation from Zbrush Docs:
Range
With the Range slider set to a higher value the mask will cover more of the surface from any point where ZBrush determines there should be a mask. A lower setting will keep the mask closer to the point where the surface changes.Falloff
If Falloff is set lower then there will be a more gradual transition between masked and unmasked areas. A higher setting will result in a sharper mask.
With that in mind adjust the values accordingly and press Mask by Smoothness.
If you followed the steps correctly, you should see something similar to the gif above. The mask preview is surprisingly fast and accurate. Now we can start adjusting our mask.
4 - Editing Your Mask
By default, the mask by smoothness already give us a great map, but luckily we can go even further and get a better result.
On top of the masking tab, you can see a variety of options to adjust your mask. You can use blur, grow, sharpen and shrink to get a result that suits your needs. Go ahead and test each one.

I recently learned that there’s another option called Mask Adjust close to the other options I mentioned above. I never had to use this feature but feel free to test it out and see if you can get better results with it.
5 - Filling Mask With Colors
When you’re finally happy with your mask, it is time to bake colors into the mesh so we can export it later. With your mask selected, invert it so the white area can receive the color and go to the Color menu and change your color to Black and press Fill Object.
Now clear your mask and you’ll see that your mask is now a texture baked into your geometry, ready for export.
6 - Exporting the Curvature Map
If your mask result looks similar to mine, you’re ready to export your map. Go to Zplugin > Multi-Map Exporter and select Texture From Polypaint.
Another important thing to keep in mind: Change the resolution of your map and on File Names make sure to change your UV Tile format. In my case, I chose UDIM because I’m using MARI, but you can select different ones.
Press OK and click on Create All Maps. Select your output directory, and you’re ready to go!
7 - Being Creative With Your Mask
While baking your curvature mask keep in mind that you don’t have to use just one option. When I’m working on my textures, I usually like to export two or three different curvature masks.
Since the baking process doesn’t take too long, I benefit from that to create multiple versions which can be very helpful later on. Check the video below to see how I use this mask in my texturing workflow.
How to Use it in my Texturing workflow?
Now that we know how to bake our Curvature Map, how are we going to use it? On the video below, I showcase a few techniques that I learned that might be helpful for your texturing workflow.
It might look simple, but if you understand the principle, you will be able to achieve incredible results without too much effort. If you liked the video, please share with your friends!
Final Thoughts
I hope you found this article useful. This technique can be used in so many ways and I'm excited to see how you guys are going to use it! Please send me a message if you used it creatively or if you need any help with the process.
I want to keep sharing things that I’ve learned in the past year and a half that I’ve been in the VFX industry. If you enjoyed reading this article, don't forget to share it with your friends. And if you are interested in more content like that in the future, make sure to follow me on social media!
Do you have any suggestion for my next articles? Write your comment below and let me know what you are interested to learn about the VFX industry.
I'll be happy to spread the knowledge!